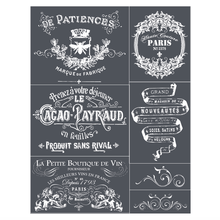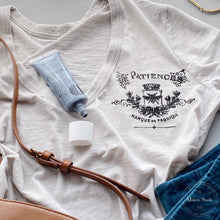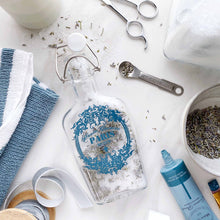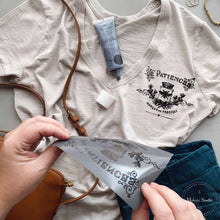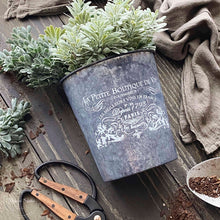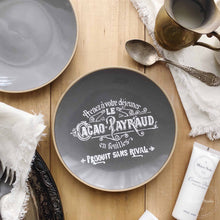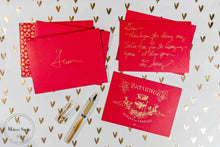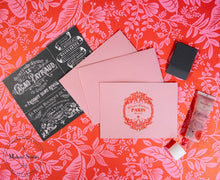
These thoughtfully designed and patented Tri Mesh adhesive stencils can be combined with a variety of surfaces to create endlessly customized DIY home décor.
What you'll love:
- Create beautiful stenciled words and imagery for any occasion!
- Use over and over again on almost any surface and with almost any finish, from Rescue Restore Paint to ChalkArt and even gilding.
- New and improved design features stronger adhesive, easier cleaning, and simpler transfer between different surfaces.
Grab your favorite stencil designs and start adding artistic elements to your furniture and accents without any drawing or painting skills!
French Stationery and Gift Bags Project
Supplies:
- Mesh Stencil – La Petite Boutique
- Gel Art Ink – Angel Wings
- Gel Art Ink – Grass Is Always Greener
- Get Art Ink – Can’t Never Could
- Gel Art Ink – Gold Metallic
- ChalkArt Scraper
Additional Supplies Needed:
- Stationary
- Craft Gift Bag
Instructions:
- Begin by cutting out your stencils and placing the desired design centered on the card.
- Next mix a dab of Grass Is Always Greener with a dab of Can’t Never Could Gel Art Ink.
- Then apply it to the stencil using the ChalkArt Spreader. Be sure to apply enough pressure to push the ink through the mesh. Once done, remove and wash the stencil in lukewarm water.
- Repeat the steps to decorate the craft bags. Use Metallic Gold Gel Art Ink on one stencil, remove and wash the stencil, and then allow it to dry. Then place the cleaned, dried stencil slightly off centered of the original print and apply Angel Wings Gel Art Ink. Remove and wash the stencil.
- For the envelopes, add scrolls to the back flap and front sides repeating the previous steps using Agnel Wings Gel Art Ink.
- If using Metallic Gold Gel Art Ink on a craft bag or card, try mixing it with white first to lighten the color. Then repeat previous steps.


